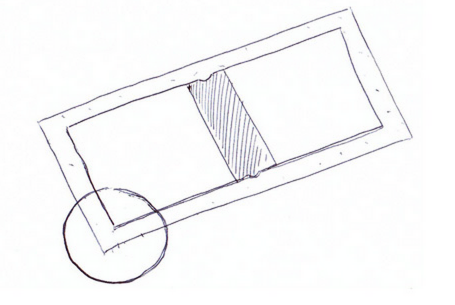
Before you start with the corners you have to make sure all the fibers (in the cardboard and in the fabric) are parallel to the crease. After you have glued your raw cover to the fabric you can start to work with corners. Make sure to leave approx. 2 cm of fabric around the cardboard book cover.
There are two traditional ways to do the corners. In the first one you make an easier cut that’s why its called a “beginner corner”.
Beginner corner
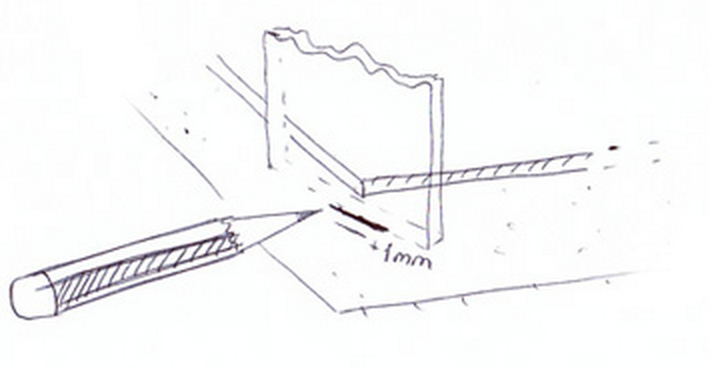
1. Use a piece of cardboard (same as cover) to measure the distance from the corner. Add 1 mm to the original distance and mark the fabric.
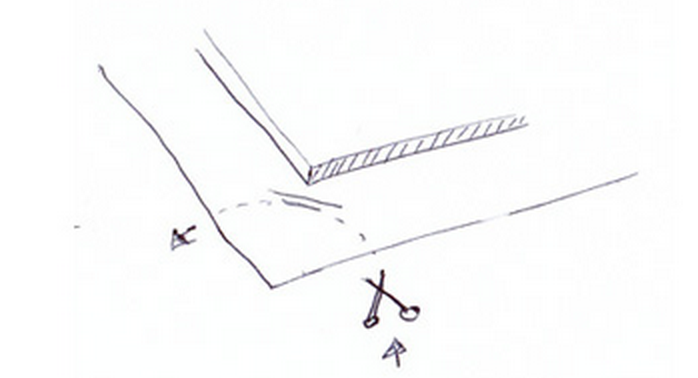
2. Draw a half circle line and cut the the fabric out. Remember to cut all the corners first before moving to the next step.
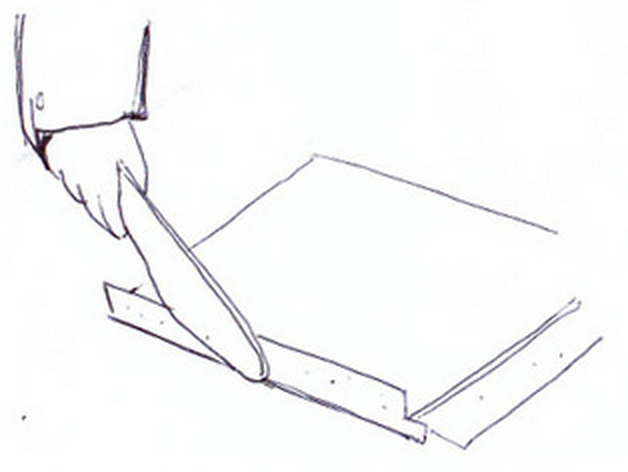
3. Brush one side with the glue (it can be simple PVA). You can make the glue more soft and liquid by mixing in some water.
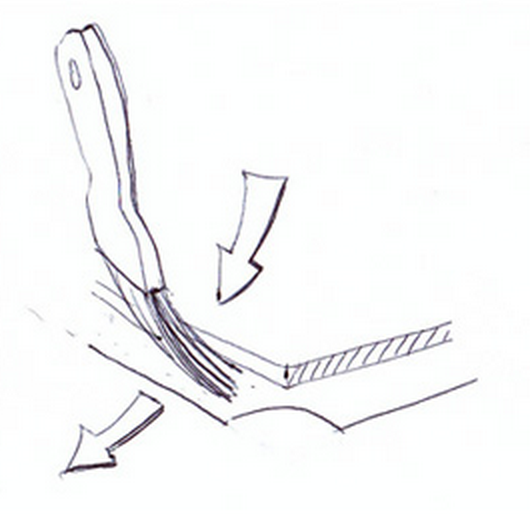
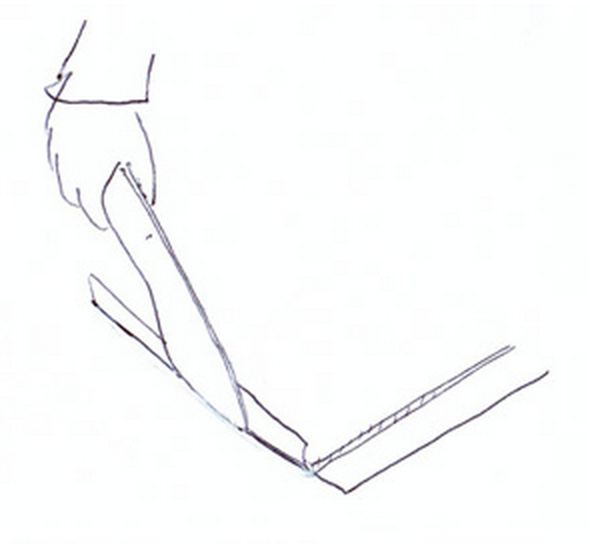
4. Crease the side with a bone and press it in. Stretch the fabric on the cover and press down until fixed in place. Repeat this step for the opposite side of the cover.
5. Optionally, for a better looking fold, you may cut a small piece of the fabric in an angle. Do not cut the fabric at the very corner of the cover.
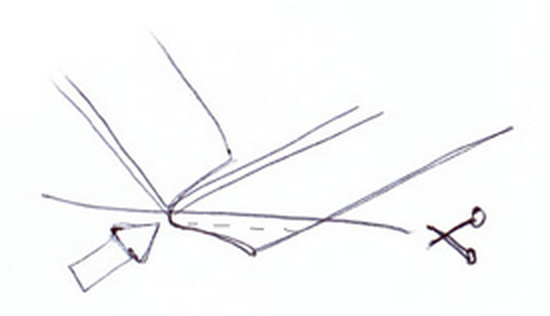
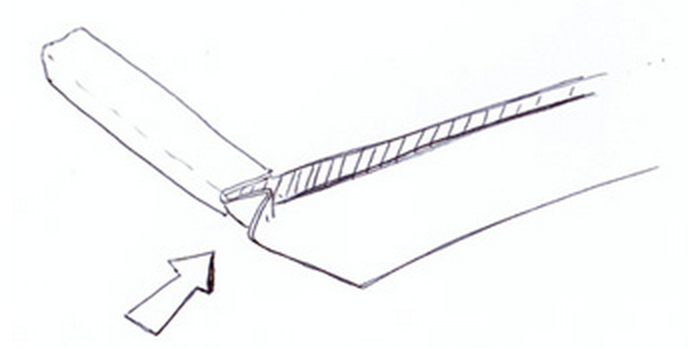
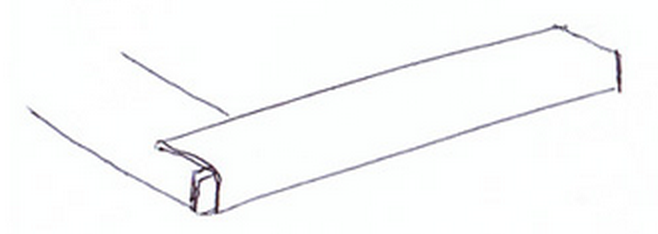
6.Add the glue and fold the fabric to the corner, crease and press down. Use the bone to push a bit of fabric at the very corner under the crease.
Quality corner style
1. Glue the cover to the fabric. Use a ruler to mark the 90 degree lines from each corner of the cover.
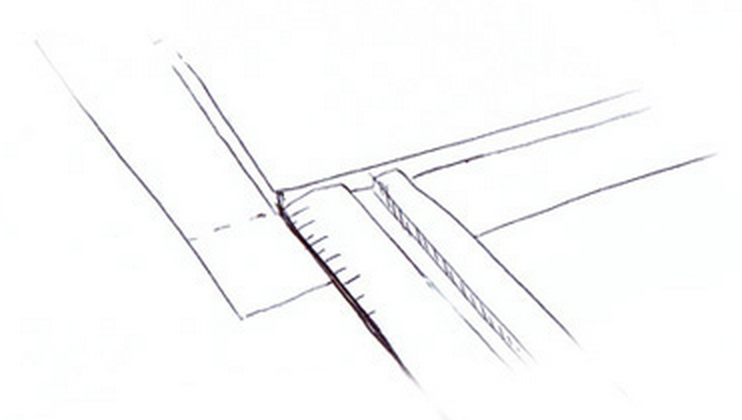
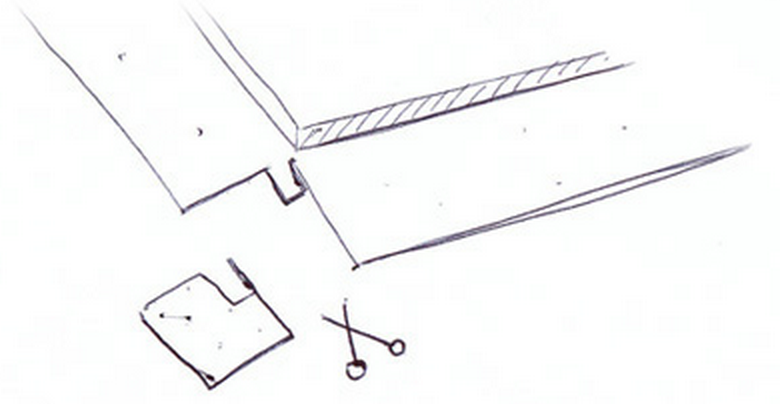
2. Use a piece of cardboard (same as the cover) to mark a piece of fabric which will be covering the corner. The piece can be approx. twice as long as it is wide.
3. Cut the marked area out. Remember to prep and cut all the corners before gluing.
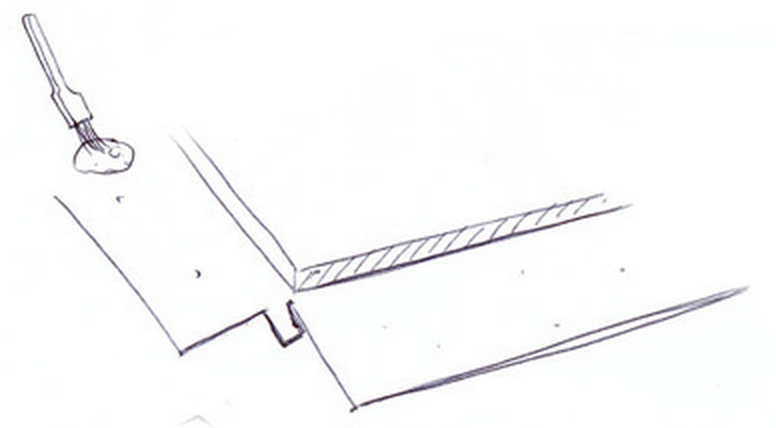
4. Start applying the glue on one side only. Glue the opposite side after the first one is creased. Then go to step 6.
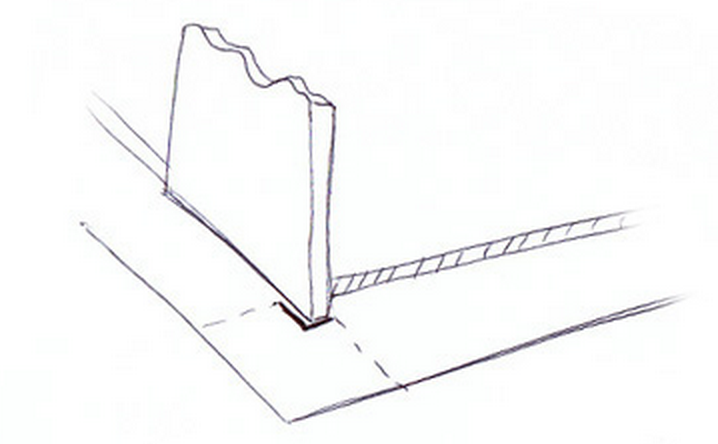
5. Crease with a bone. Fold the extra little piece of fabric to cover the other side of the corner.Press the fabric to the cover. Push as much extra glue out as you can!
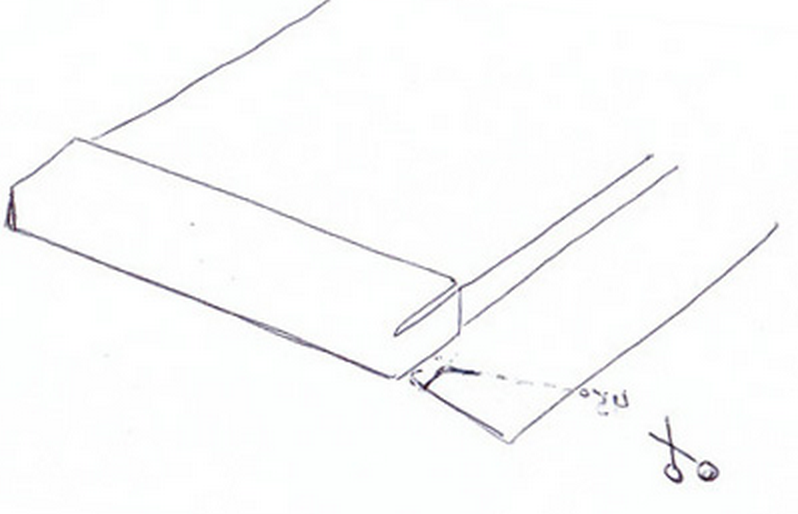
6. When two opposite sides are complete you can mark up a 45 degree line on the rest of the sides and cut the extra fabric out. Remember to space your cut from the corner by the width of the cardboard.
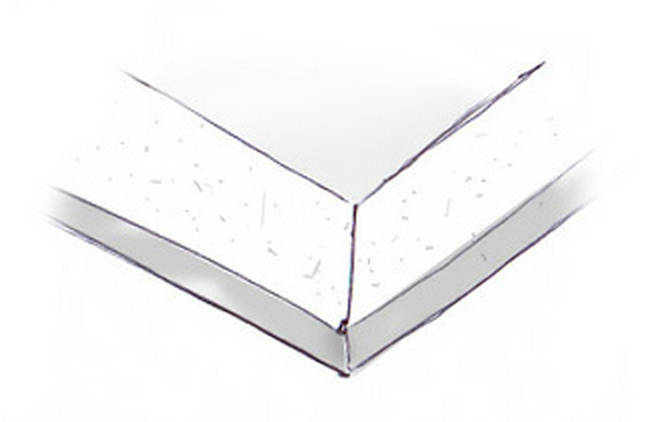
7. Crease and fold in all the corners. Push all extra glue out with the bone, so that it does not form air bubbles.
Good luck!